Hello People,
While i was creating particle effect i got exposed to alot of parameters in unreal engine one of them was creating a shader(flipbook) you’ll come to know in below mentioned series.
Check out the below mentioned series by Ben Cloward, amazing tutorials worth watching for any aspiring shader artist.
I actully wanted to share and save the process for people interested in shader development(me too),
kindly watch the above video first and then begin the process of creating a SHADER for yourself,
You’ll require couple of things first
Ben above explains he createad a model for showing workflow in unreal
But there was no downloadable content for working, So i saw an opportunity and thought of creating it for myself and people who are interested, so the things that we need are,(these below points are shorcuts for people who are not modeling artists like me)
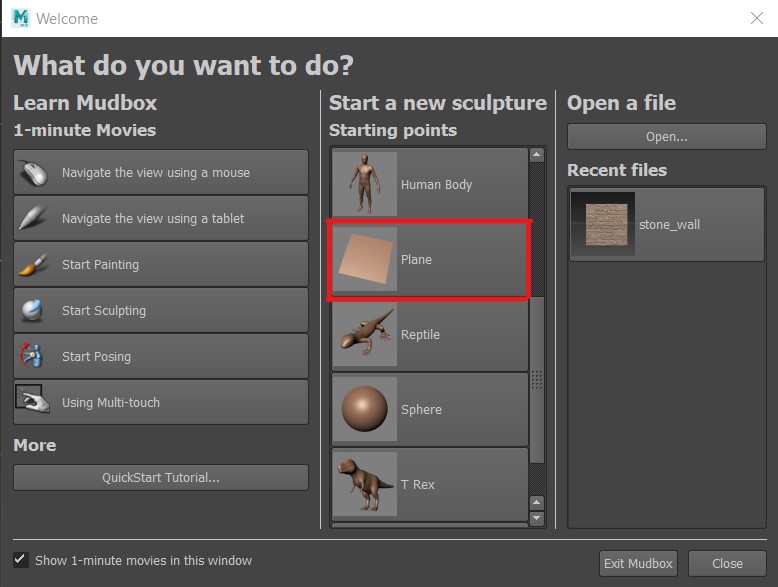
- any sculpting software(mudbox, zbrus, etc)
- any dcc software(maya, 3ds max, etc)
- crazy bump(most crucial step)
- unreal 4.24
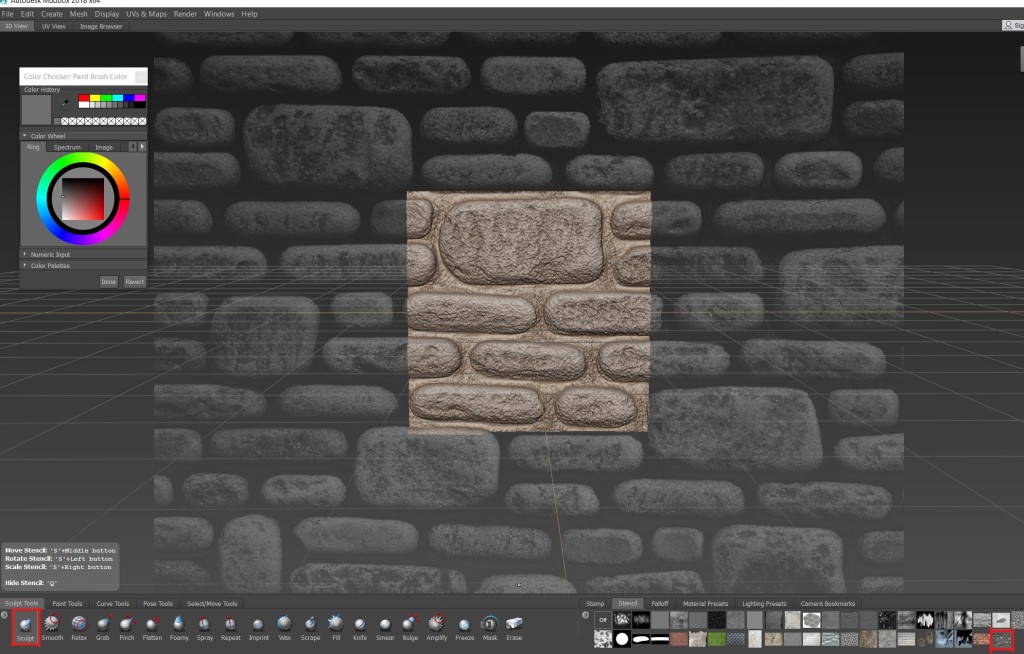
Open Mudbox with plane
rotate plane to z-axis – 90degrees


Pick any texture you like from google

Add the texture to stencil

Select the stencil and sculpt (shift+D to increase the resolution)
So if you guys have reached here successfully, pat yourself from here it gets slightly tricky
Hope you all know a little bit about passes, if not kindly check the above video couple of time
Go to paint projection for Diffuse pass, to get the cut out of the sculpted area(Note: dont create a diffuse map from texture, it needs to be precise that is why we are painting it here)


Afer you create diffuse pass in the tab, then in the kindly select color grey or anything inbetween black or white but not extreme on either side you can start to paint on the mesh and then export once finished
To export Diffuse and Normal map
Diffuse
Go to: File>Export All Paint Layers Below dialog box will open, kindly change the below Path Template to a suitable location.

Normal
Note: Dont try to paint Normal map
Go to: UVs & Maps>Extract texture maps Below dialog box will open, the ones which are highlighted are basic settings kindly set as per your requirement

Done till here congratulate yourselves, all the hard work is done
The DCC software is not mandatory as it is ony used for creating ambient occlusion in this scenario.
Crazy Bump

save Specular map from that
Open Specular map in Photosop and slightly paint randomly with black or dark grey that will be our Roughness map
and for the final compiling in unreal engine, watch the video very nicely explained.
I would recommend everyone to watch all the videos of Ben he was the guy who sold ShaderFX to max and maya so he has indepth knowledge on shaders.
I am even attaching the googledrive link for anyone who wants to download the maps and mudbox file
https://drive.google.com/open?id=1TpMGs8KhViUVr_O_zEWd5WVvsIDBqVWO
In the end let me know if you face any issue and you can ping me on
bghuntla123@gmail.com
blossom_ghuntla@yahoo.com
Thank You Guys,
Take care
